Candy making 101
Painting Molds

Adding color to your candy gives it an all-together different look. It also allows you to express your taste and show your artistic ability (we all have some, even if we don’t know it!).
Painting Technique
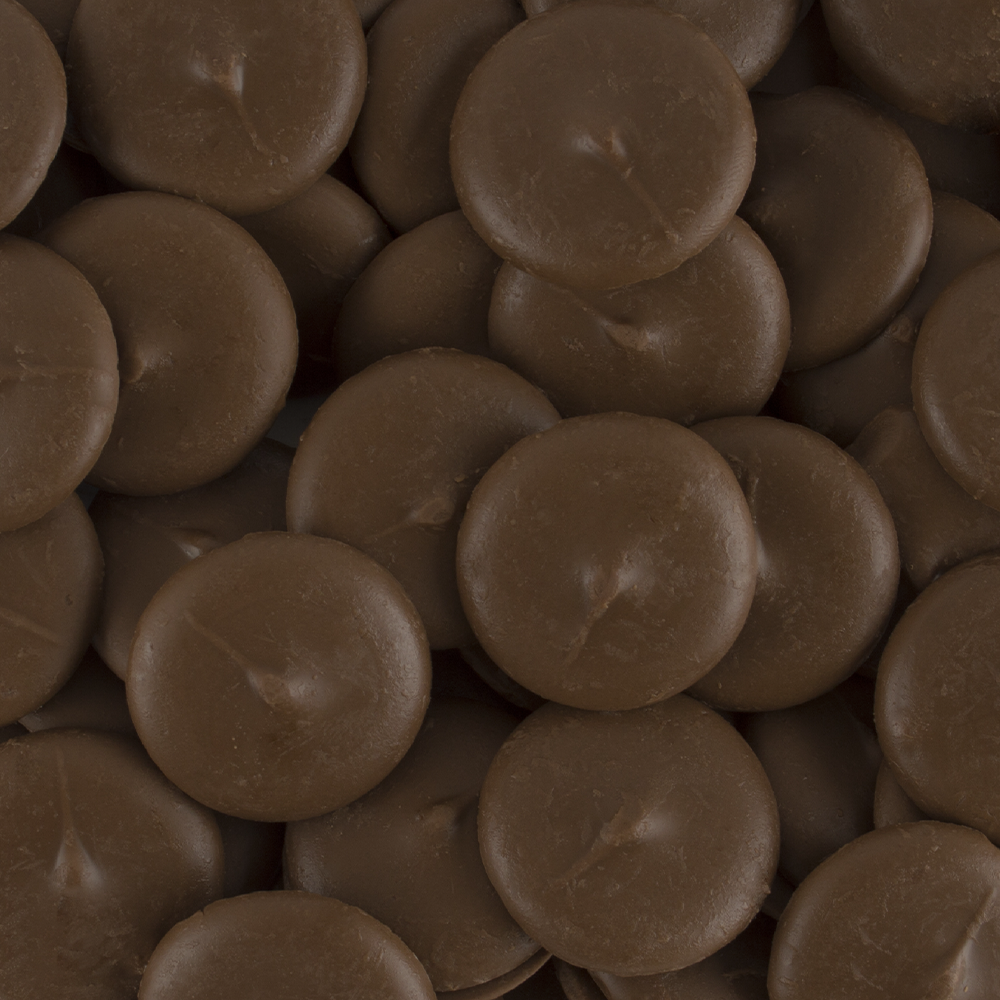
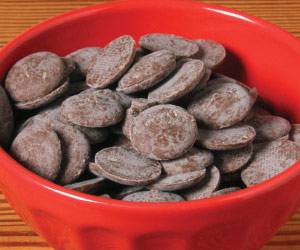
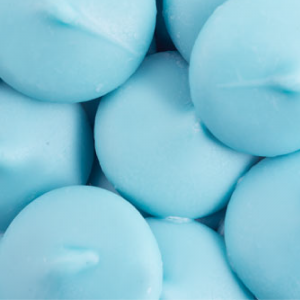
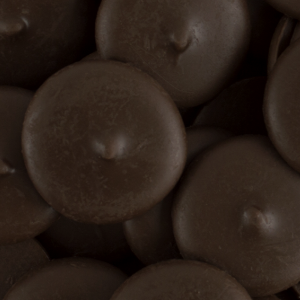
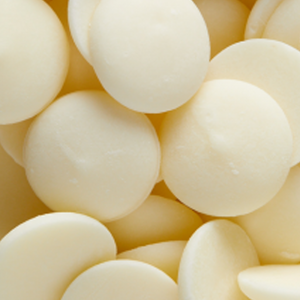
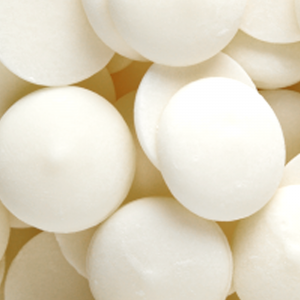
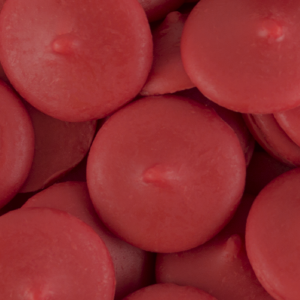
Instructions: Place 3-4 Make’n Mold® candy wafers in each cavity of the Make’n Mold® painter’s palette. Place painter’s palette in the microwave for 30 seconds on half power. Use a separate toothpick to stir each color of wafers. Continue melting for 30 second intervals on half power until each color of wafers is melted.
Use a paintbrush from the painter’s palette to paint the details in each mold cavity with just one of the colors of melted wafers. Then go back and paint with a different color. Once you’ve finished painting, melt any color wafers and fill the remainder of each mold cavity. If making lollipops, then insert sticks. Chill 10-15 minutes, then remove candy pieces from mold just as you would remove unpainted pieces.
Hint 1: It’s important to only paint with one color at a time, making sure that each color of wafers has hardened before painting with the next color. Chill 1-2 minutes between colors to make them harden faster.
Hint 2: Hold the candy mold up to the light to check your progress.
Hint 3: Use a toothpick instead of a paintbrush for the really delicate features.


