Candy making 101
Melting Candy Wafers
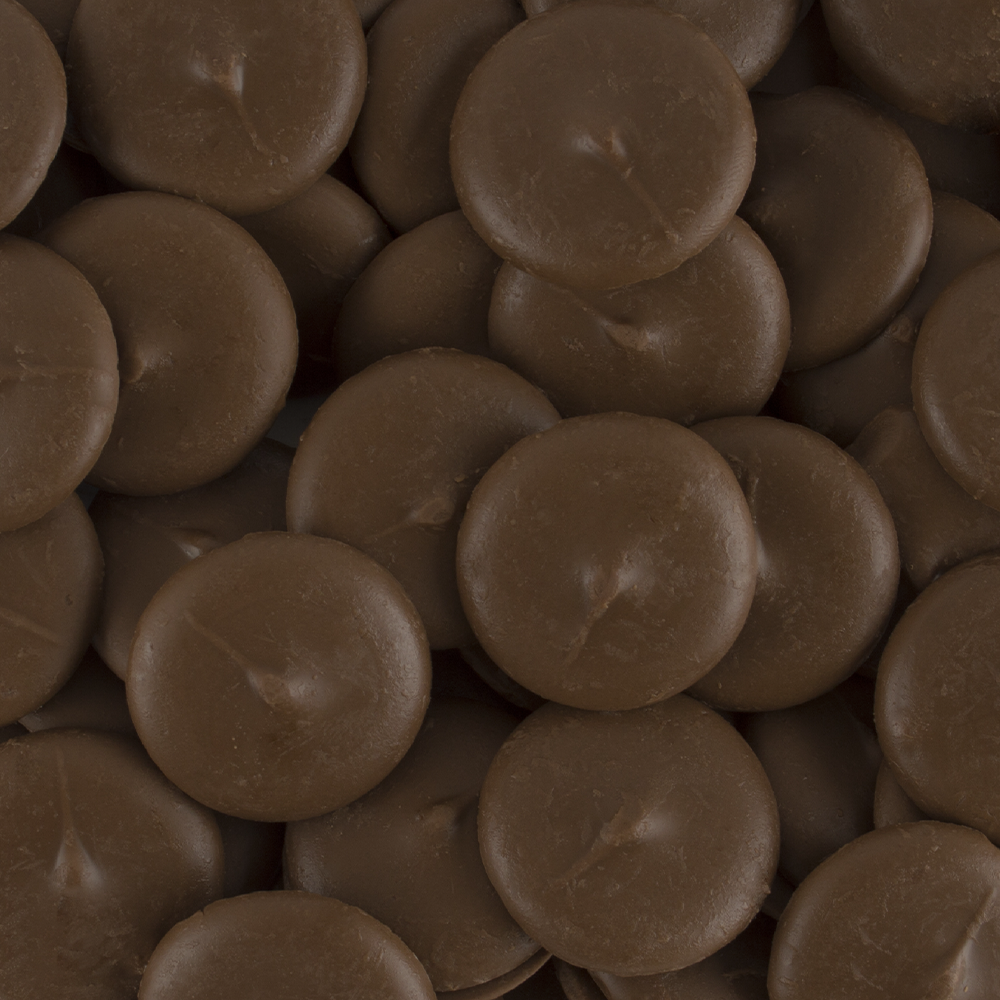
You may melt Make’n Mold® candy wafers using any method that works best for you.
Certain methods work better depending on what you will be doing with the wafers once they are melted. We recommend you experiment with each method until you find the one or two that are right for you.
Note: Never allow candy wafers to come into contact with water, as it will cause them to seize and become unusable.
ChocoMaker Candy Melter
Purchase ChocoMaker® Candy Melter
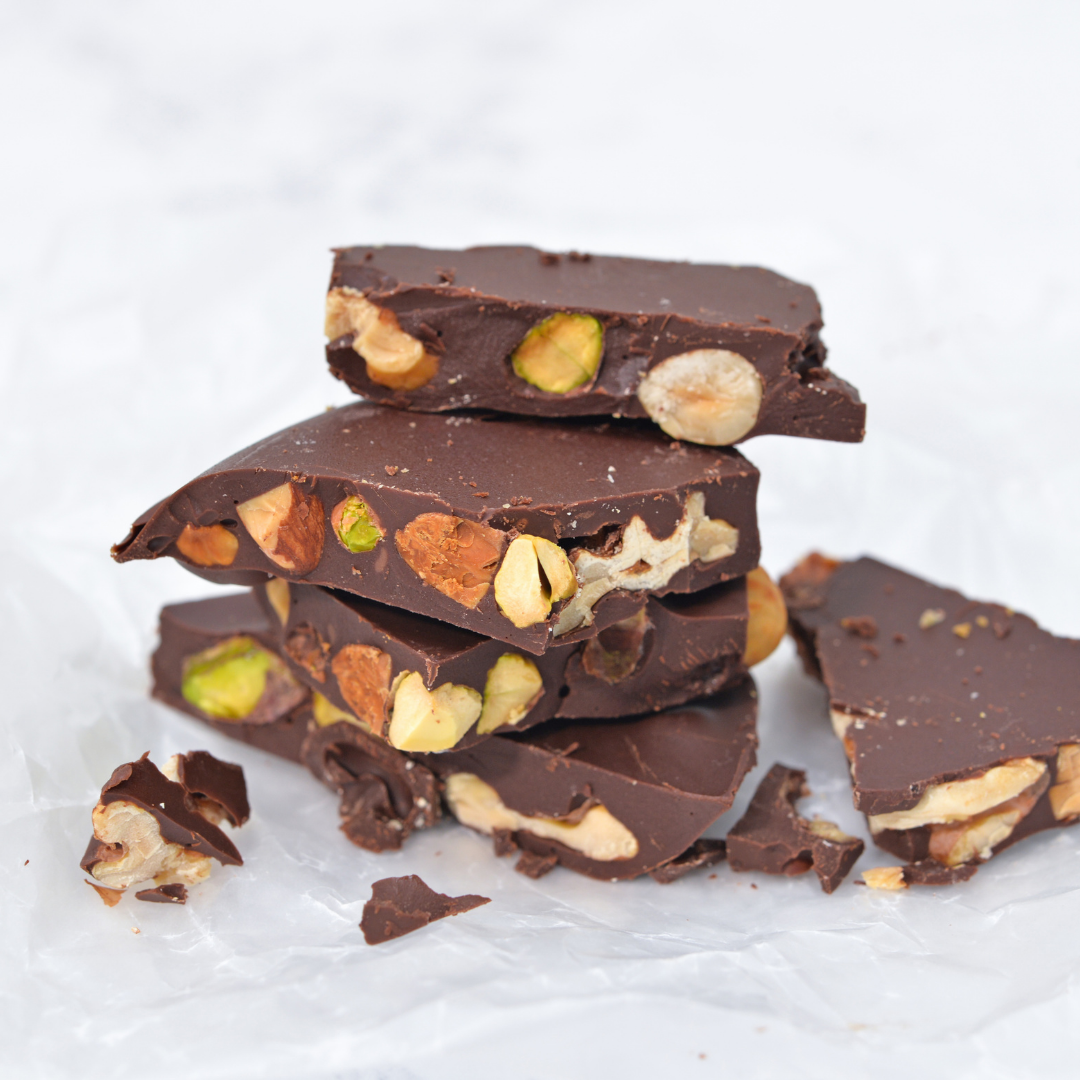
The candy melter works best: for molding large batches of all one color or flavor; dipping; marbleizing; or making clusters, cups and bark.
Hint 1: The melter is great for the “weekend warrior” who starts making candy on a Friday night and doesn’t want to transfer melted wafers and clean up after each use. Simply cover and remelt the next morning. No cleanup, no reheating throughout the day.
Hint 2: When doing a lot of varied candymaking, such as around the holidays, you’ll find it very helpful to have more than one melter going at a time, so you can make a batch of chocolate flavored clusters in one melter while you’re melting vanilla wafers to make dipped pretzels in another melter.
Instructions: Place 2 pounds of candy wafers in candy melter. Turn melter knob to MELT. Stirring occasionally allow wafers to melt approximately 17 minutes. Turn melter knob to WARM. Melter keeps wafers warm and melted all day without scorching (no need even to stir).
Microwave
The microwave works best: for quick melting; small quanities; and little mess when used with Make’n Mold® microwaveable trays which are disposable.
Hint 1: Start off on half power for only 30 second intervals until you are familiar with melting in the microwave, otherwise you may experience scorching (when scorching occurs you will find small black or brown granules when you stir the melted wafers; wafers may not appear to be burned or discolored on the surface).
Hint 2: Microwave heating times vary depending on what type of container you are using to melt in. Glass bowls or cups take much longer to heat and can withstand full power more than microwaveable trays, squeeze bottles or plastic bowls. You may want to experiment with each to determine the container that works best for you.
Instructions: Place desired amount of candy wafers in a microwave-safe container. Heat on half power for 30 seconds. Stir wafers (wafers will not appear melted until they are stirred). Continue heating on half power for 30 second intervals, stirring in between, until wafers are completely melted.
Double Boiler
The double boiler works best: when you don’t want to take the chance of scorching in the microwave; for molding large batches of all one color or flavor; if you don’t have a ChocoMaker® Candy Melter.
Hint 1: Since water can never come into contact with candy wafers (it causes them to seize and become unusable), you must be very careful that no droplets of water from the bottom pan ever reach the candy wafers in the top pan.
Hint 2: Be careful to only heat on low. Do not allow water in bottom pan to boil, as this will cause scorching.
Instructions: Place 1-2 inches of water in the bottom pan of a double boiler. Be sure water is not high enough to reach the bottom of the double boiler’s top bowl. Fill top bowl with candy wafers and heat on low, stirring often. Once candy is melted, remove entire double boiler from heat, but keep the top pan on top of the bottom pan of hot water (this will keep wafers melted longer). As wafers harden, reheat as necessary according to these instructions. Check water level in the bottom pan occasionally, water will eventually evaporate.
Crockpot
The crockpot works best: when making VERY large batches of all one color or flavor; if you don’t have a ChocoMaker® Candy Melter.
Hint 1: Be sure to stir to the bottom often, as a crockpot will scorch the wafers on the bottom, even just on the “keep warm” setting.
Instructions: Fill crockpot with desired amount of candy wafers. Set to the low heat setting and stir often until wafers are melted. Turn to the “keep warm” setting and continue to stir often to prevent scorching.
Conventional Oven
The conventional oven works best: when you don’t have access to any of the methods above.
Instructions: Preheat oven to 250°F. Place candy wafers in an oven-safe bowl or dish. Place in oven for approximately 8 – 10 minutes, removing to stir once or twice