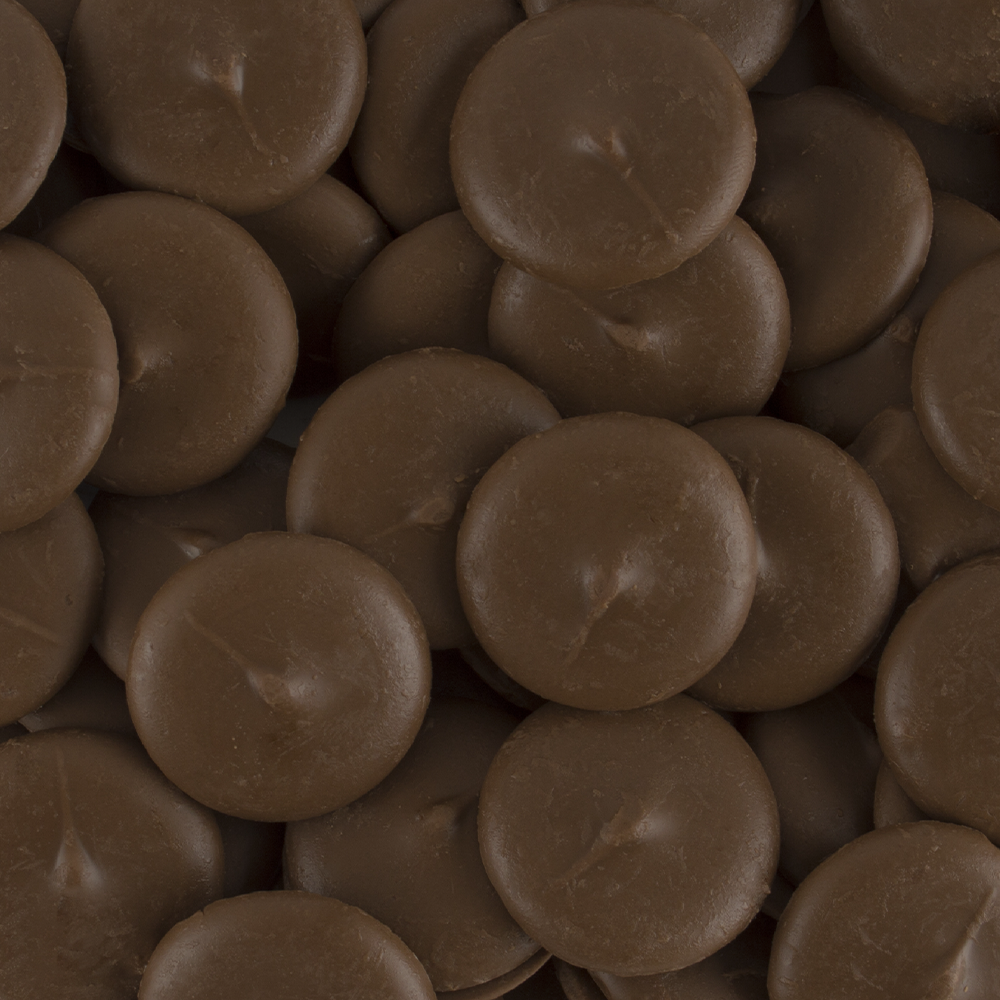
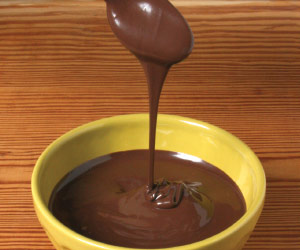
Candy making 101
Creating a Parchment Paper Cone for Drizzling
Paper cones are not only a cost saver, but help eliminate a lot of cleanup.

Cut the Triangles
Begin with a square piece of parchment paper and cut it diagonally from corner to corner. Starting with a square is important because it will ensure that the corners line up properly. As in the photo above, starting with the bottom left corner, label the corners counter-clockwise A, B, and C.
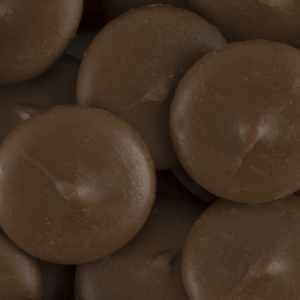
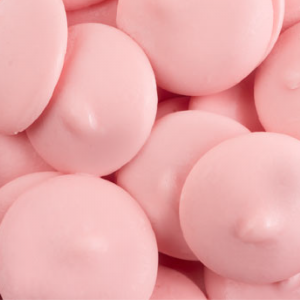
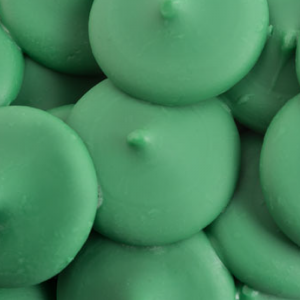
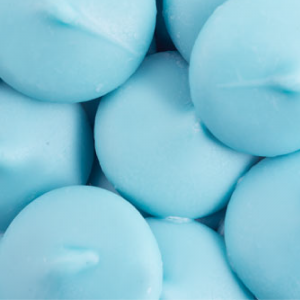
Although wax paper will function in a similar way, the wax will melt once you fill your piping bag with warm, melted candy wafers.

Create the Opening
When looking at your parchment triangle, the longest side will need to be positioned away from you. Bring corner A toward corner B, noting that you are forming a roll. In the picture you will see that the side of the paper where “A” is written is still facing upward.

Line Up Corners
While holding corner A to corner B, bring corner C around to the bottom side of the cone. At this point all three corners will be close together. Pick up your paper cone to ensure that the point at the bottom of the cone is completely closed. If not, manipulate corners A, B and C to tighten up the opening.

Crease the Cone
Once the opening is completely closed and no light can be seen through it, fold the three corners together to lock them in place. At this point your cone is ready to be filled. After filling, crimp the excess parchment paper around the melted candy and snip the tip to begin drizzling.
Note: do not fill more than half way, or you will not be able to close the paper cone.