Candy making 101
Basic Molding
Basic Solid Molding
Begin molding projects by checking previously used molds for water marks or candy release marks. If a mold has either of these markings inside, wipe it with a soft cloth. A clean mold is what gives candies their super-shiny finish; scuffs or residue inside the mold will not allow for a shiny exterior.
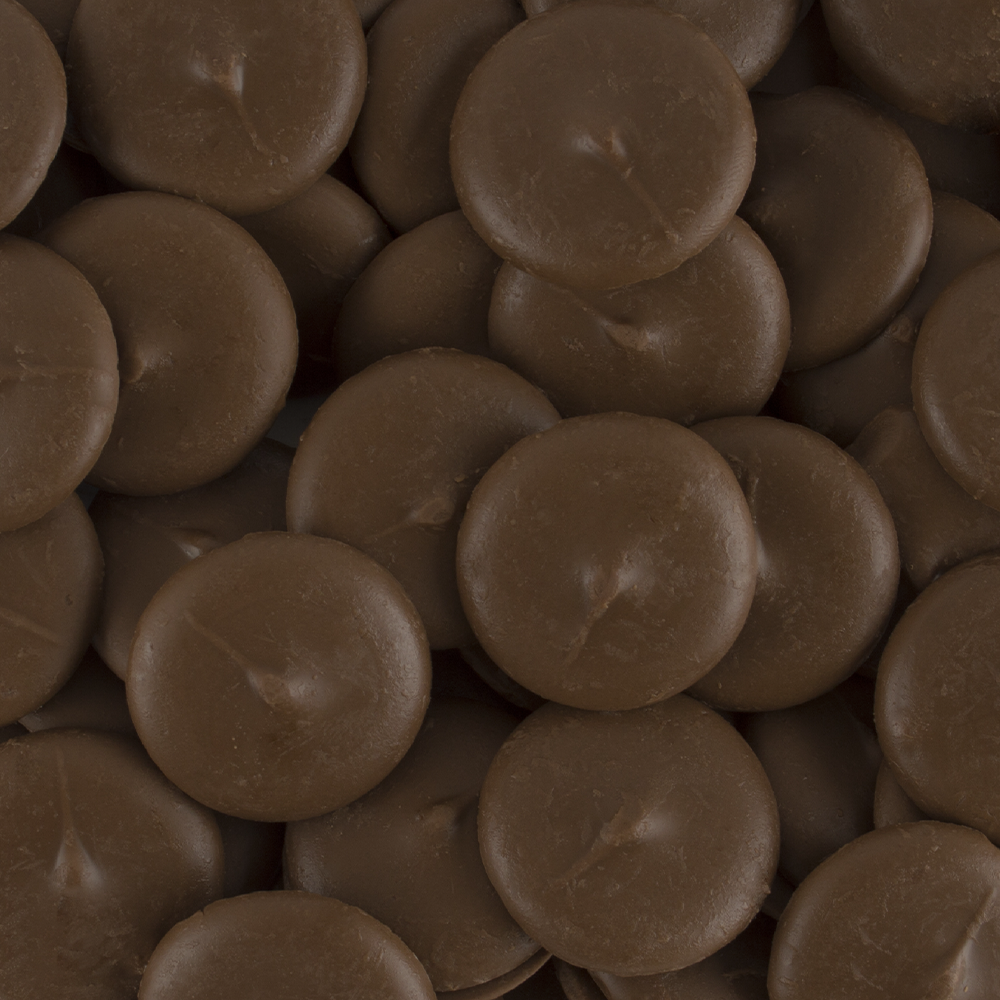
Spoon melted candy wafers into each cavity, being careful not to over fill. Once all cavities have been filled, gently tap the entire mold onto the surface of the counter to release any air bubbles. Chill for 10 minutes.
Remove mold from the refrigerator and peek underneath to see if molds have released yet. If so, turn mold over and tap gently to loosen candy pieces. If pieces do not easily release, chill for 5 more minutes. Wait until pieces reach room temperature before packaging.


